


Unlock more with the Adobe Podcast Premium plan 
- Enhance Speech fixes audio problems after the fact, no perfect mic needed
- Video support for MP4, MOV, and more
- Bulk upload files for enhancement
- Adjust speech, music, and ambience for a more natural sound
- Enhance up to 4 hours a day, files up to 1 GB
- No download limits on Studio projects
- Download original recordings, speaker-separated
- Customize audiograms and captions with themes
- Upload custom backgrounds for audiograms
- All Premium features for design
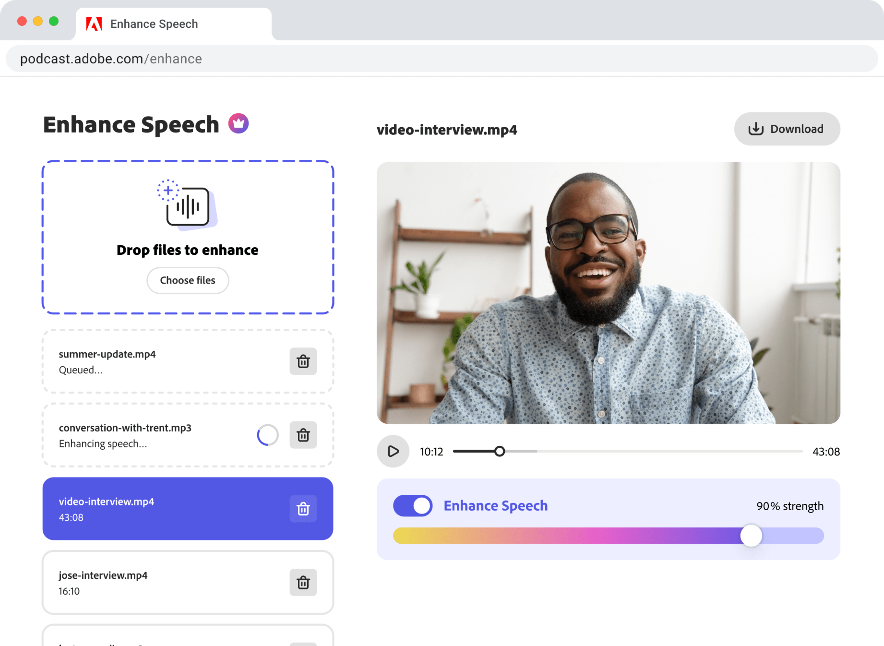
Enhance Speech


Studio


Design with Adobe Express Premium

 Start free trial
Importing your multitrack Restream recordings into Adobe Podcast
From multistream broadcasts to refined recordings—how to import and edit your Restream recordings.

Last updated: February 18, 2026
Author: Harmony Jiroudek, Product education & community manager
Some creators want to record while going live, and Restream is a natural fit for that. Guests can join easily, you can broadcast to multiple places at once, and the interface keeps things manageable even with a bigger group.
A helpful feature for podcasters is Restream’s split‑track recording. Instead of giving you one blended audio file, Restream saves each participant separately.
Before we open your project in Adobe Podcast, let’s walk through how to download those individual Restream tracks.
1. Download your individual tracks from Restream
To prepare your files for Adobe Podcast:
1. Sign in to Restream.io
2. Select the Storage tab on the left-hand navigation.
3. Click the Recordings tab.
4. Select the session you want to download.
5. Click on the Download button, and select Local recordings.
6. Download each participant’s audio or video track.
Make sure you’re downloading the separate participant files rather than a mixed or combined export.
Note: Split-track (local) recording must be enabled before your session. If only a single mixed file is available, multitrack editing will not be possible.
2. Organize your files
Before uploading, take a moment to prepare your files:
- Keep one audio file per participant.
- Rename each file clearly (for example: host.wav, guest-ana.wav).
Clear file names help you quickly identify speakers once your tracks are imported.
3. Uploading your Restream tracks into Adobe Podcast
Once you’ve got your individual Restream files labeled and organized, it’s time to bring them into Adobe Podcast for editing. Adobe Podcast makes the upload process really simple, and because you’re working with multitrack audio, it opens up a lot of flexibility for polishing up your recording.
Step-by-step: Importing your files
1. Head to Adobe Podcast at podcast.adobe.com
- Log in with your Adobe ID — or create one if you haven’t already (there’s a free version!)
2. Navigate to Studio, https://podcast.adobe.com/studio, and click “New Project”
- You’ll be taken to a blank project where you can start uploading files.
3. Drag and drop your multitrack audio files
- Click on the “Add” icon to the left, and select “Upload a group recording”
- Just grab your renamed Restream files (like Host_Jordan.m4a, Guest_Chris.m4a, etc.) and drop them directly into the project.
- Click “Add to project”
4. Let it process the audio
- It will take a moment to sync everything up and generate transcriptions. From there, you’ll be able to edit your project.
4. Start Editing
With your tracks imported, you can:
- Edit directly from the transcript.
- Trim unwanted sections quickly.
- Remove filler words or pauses.
- Use Enhance Speech to make voices clearer.
Working with separate tracks gives you more control over balancing speakers and refining your final mix.
If something looks out of sync or you only see one audio track, double-check that split-track recording was enabled before your Restream session. And if you want help with polishing, mixing, or exporting, explore A beginner’s guide to text-based editing to support your next steps.
About the author: Harmony leads customer education and community for Adobe Podcast. As a musician and educator, she brings a human-centered approach to helping creators learn, connect, and grow with powerful audio tools. Her passion lies in making creative technology feel accessible, empowering, and inspiring.