A beginner’s guide to text-based editing
What is text-based editing?
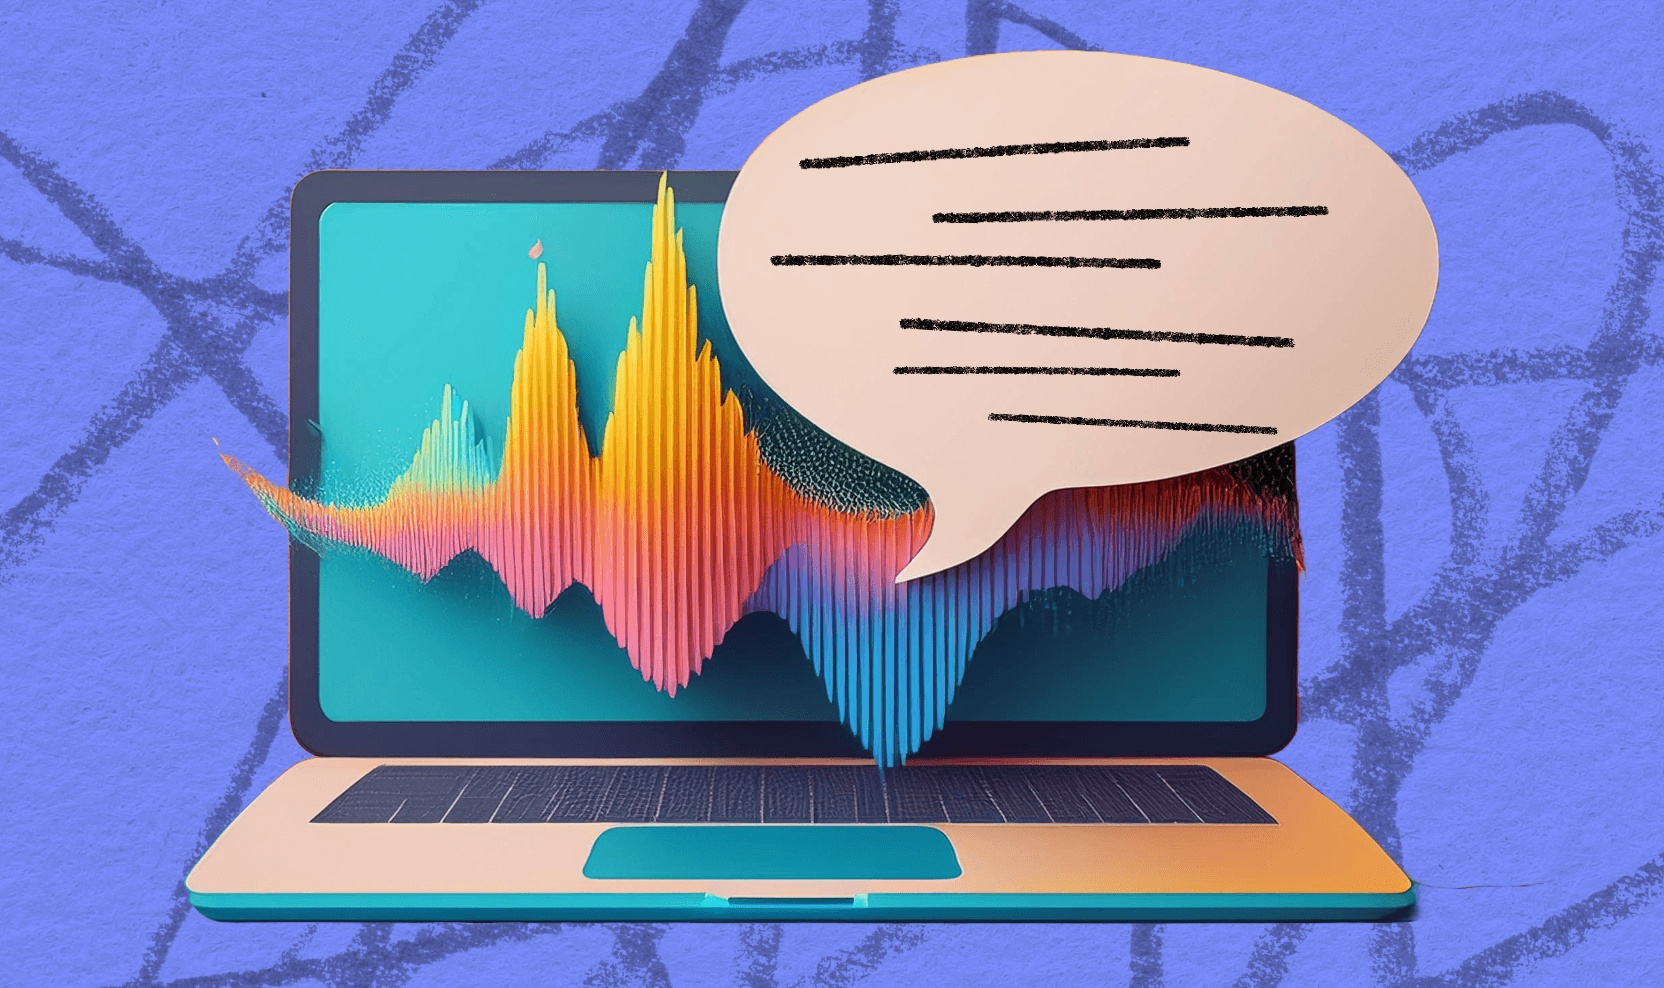
These days, AI is so common, you might not even realize you’re using it. Ever tell Siri to send a text? That’s actually an AI: speech-to-text (STT). That same idea is what powers the text-based editing in Adobe Podcast. It’s a powerful way to edit your audio that can be useful for the novice podcaster, the veteran editor, and everyone in between.
It’s easy to get overwhelmed by the nuances and innovations of AI editing, but we’ll start with the basics: what is text-based editing, how can it improve your workflow, and where can I go to get started?
What is text-based editing?
Traditional editing of a voice recording, music, or any other kind of audio is typically done by editing waveforms in a timeline format.
Unlike a musical composition, podcasting typically only requires 1 or 2 voices to be cut and arranged in line with a simple musical track or sound effects. The needs are relatively simple, and your audio editor should be, too. That’s why Adobe Podcast uses text-based editing so you can quickly and easily edit your voice tracks using a transcription of the audio track uploaded to or recorded on the platform.
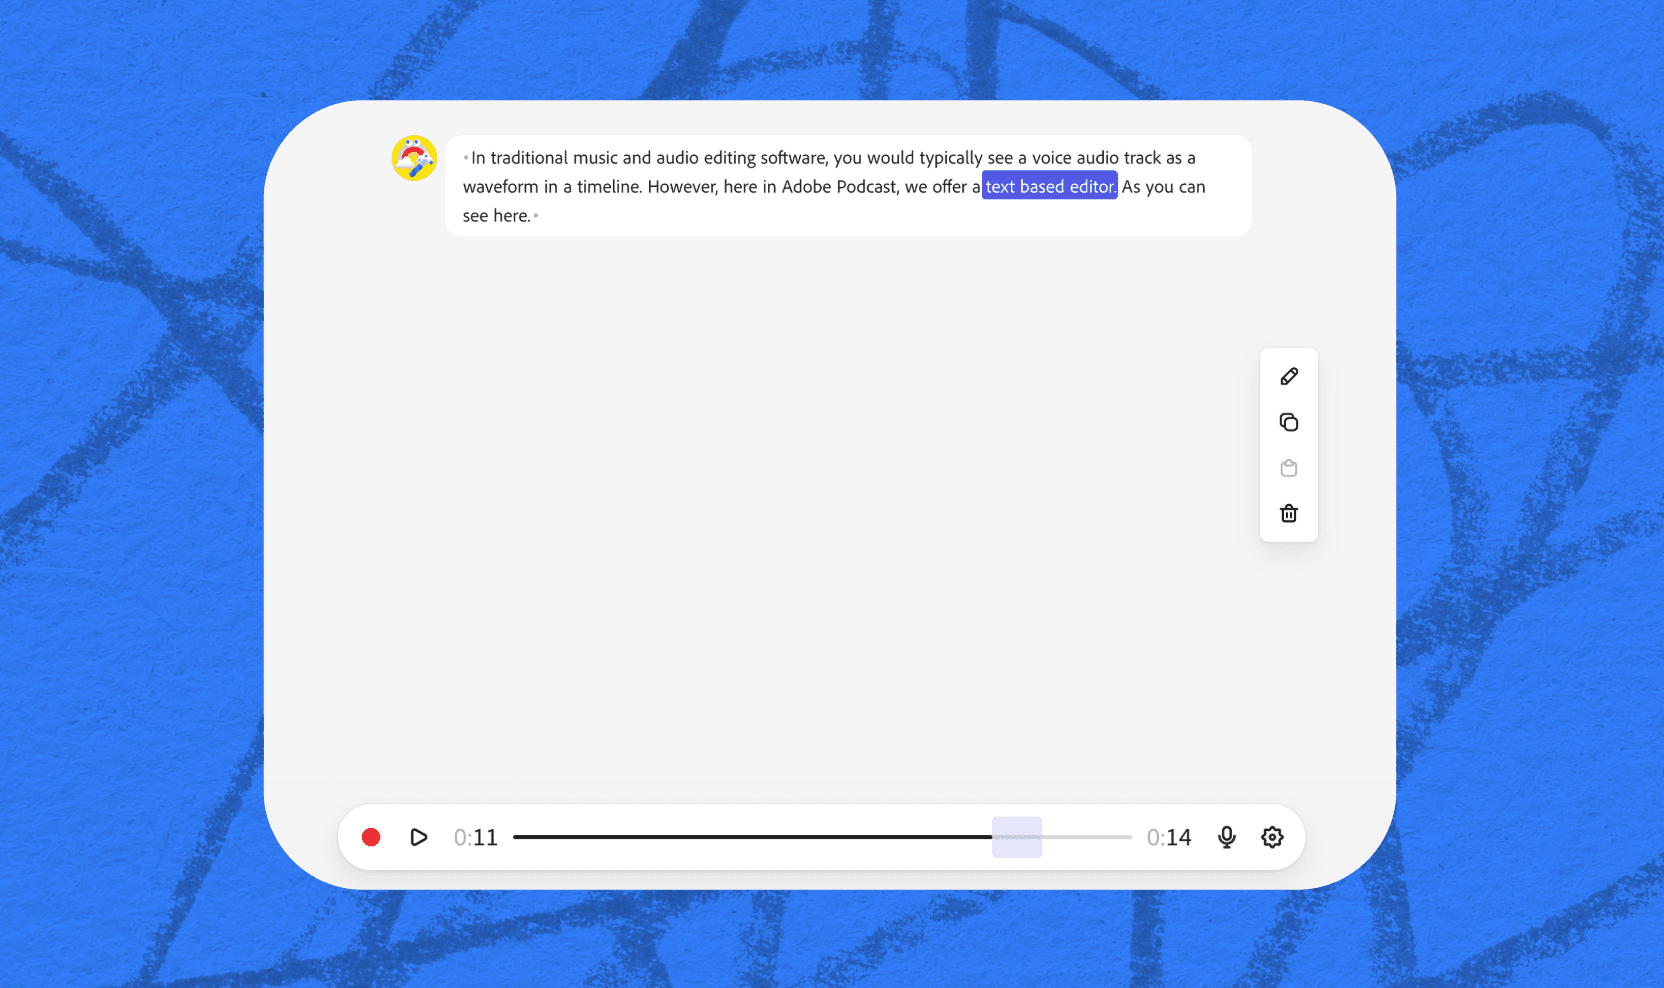
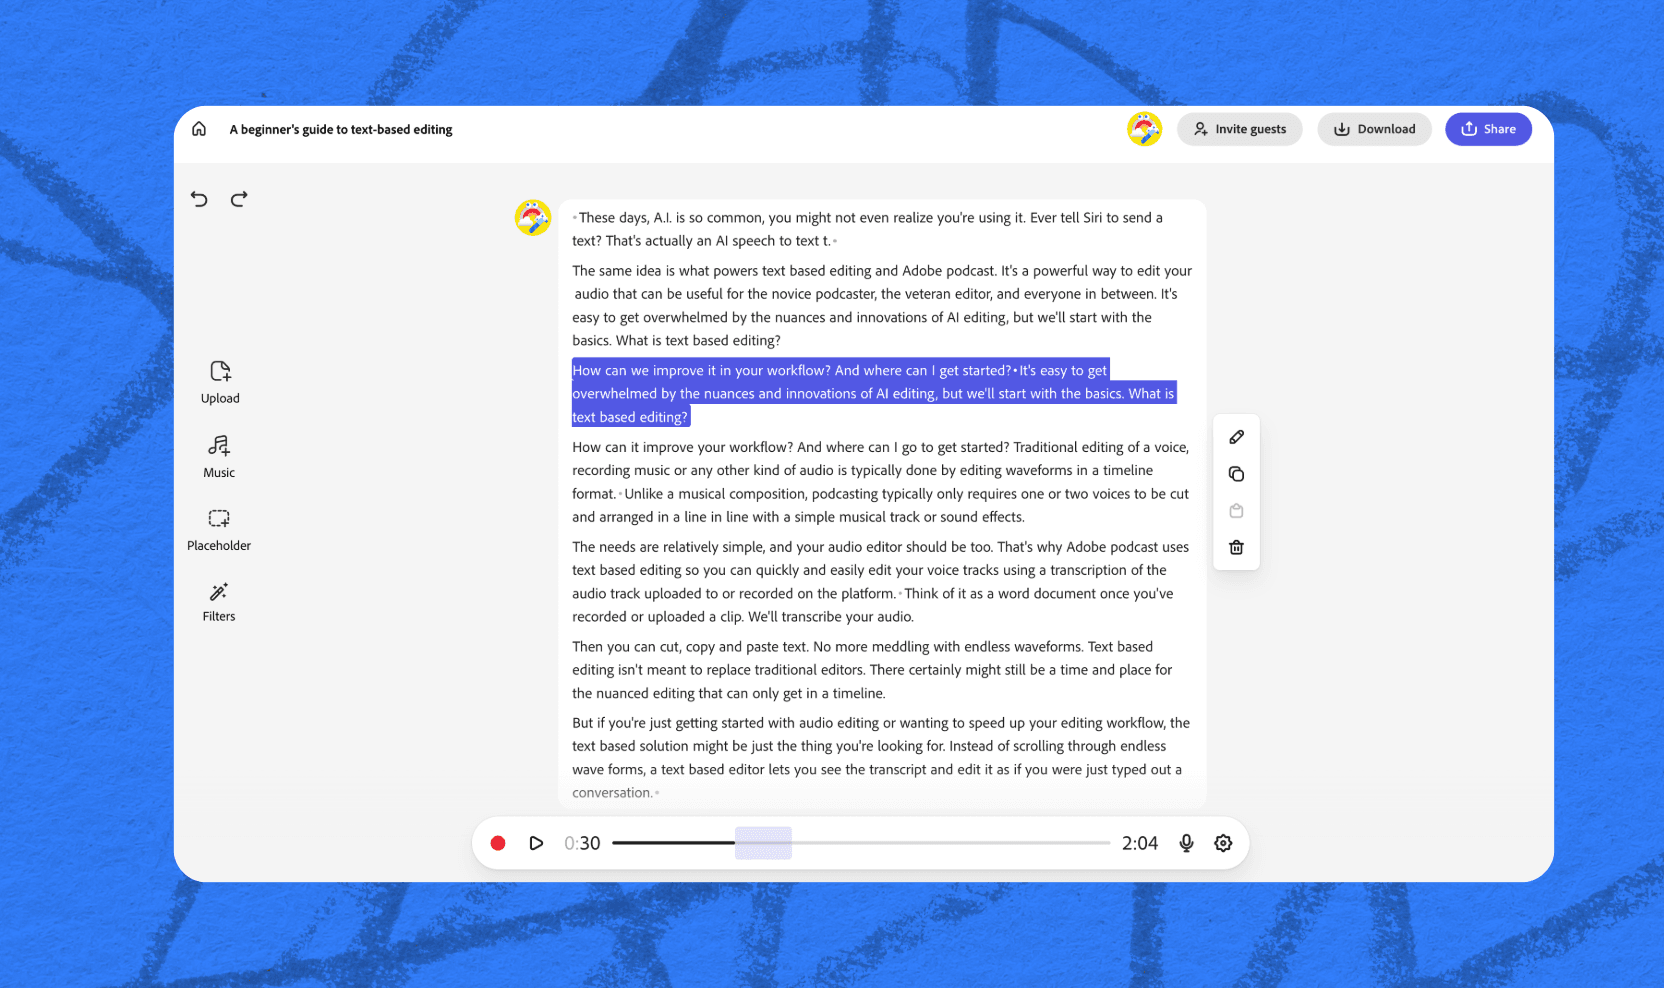
Think of it as a word document: once you’ve recorded or uploaded a clip, we’ll transcribe your audio. Then, you can cut, copy, and paste text. No more meddling with endless waveforms.
Why use a text-based editor?
Text-based editing isn’t meant to replace traditional editors; there certainly might still be a time and place for the nuanced editing that you can only get in a timeline. But if you’re just getting started with audio editing or you’re wanting to speed up your editing workflow, a text-based solution might be just the thing you’re looking for.
Text-based editing saves time
Instead of scrolling through endless waveforms, a text-based editor lets you see the transcript and edit it as if it were just a typed out conversation. There’s so much you can do in just a few clicks: highlight and delete mistakes, cut and paste entire sections, copy intros from one project to another, and more. Even if you have experience working in a timeline editor, finding ways to incorporate a text-based rough draft is guaranteed to save time in the long run.
TIP: When recording, it’s helpful to create a random keyword for yourself (I’m partial to “banana”). If you mess up and need to do a retake, just say your keyword and restart. Then, when you go go edit, just search for the text following your keyword and delete whatever came before it.
It’s beginner-friendly
Learning how to edit audio means learning entirely new softwares and processes. Luckily, Adobe Podcast’s text-based editor offers a silky-smooth learning curve for even the most novice users. If you know how to edit a word document, you already know how to edit your audio in Adobe Podcast.
Not convinced? There’s a free version that allows you to try out the Studio and other features. There’s no better way to learn than by doing.
Transcriptions offer more accuracy
Transcriptions provide a bird's eye view of an audio recording, making it easier to review content without constantly re-listening to each portion of a recording. Quickly catch redundancies, filler words, or awkward pauses and make the choices you want to for editing them.
It’s economical & convenient
Because our platform is web-based, you don’t need a powerful computer and an expensive DAW—as long as you have a good Internet connection, you can upload files or record directly to Adobe Podcasts while online.
After a 30-day free trial, Adobe Podcasts can be used for $9.99 a month or $99.99 a year when paying annually.
Step-by-step guide to text-based editing
Grab a snack and get comfy—this won’t take long, but you’re reading a lot and you deserve a treat.
If you want to try out Adobe Podcast, here’s how to get started:
1. Go to Adobe Podcast and sign up.
This part’s pretty easy. Go to the Adobe Podcast homepage and click Sign In to either sign in with your Adobe account or create a new one. Once you’re in, click on Studio, then New Project to get started.
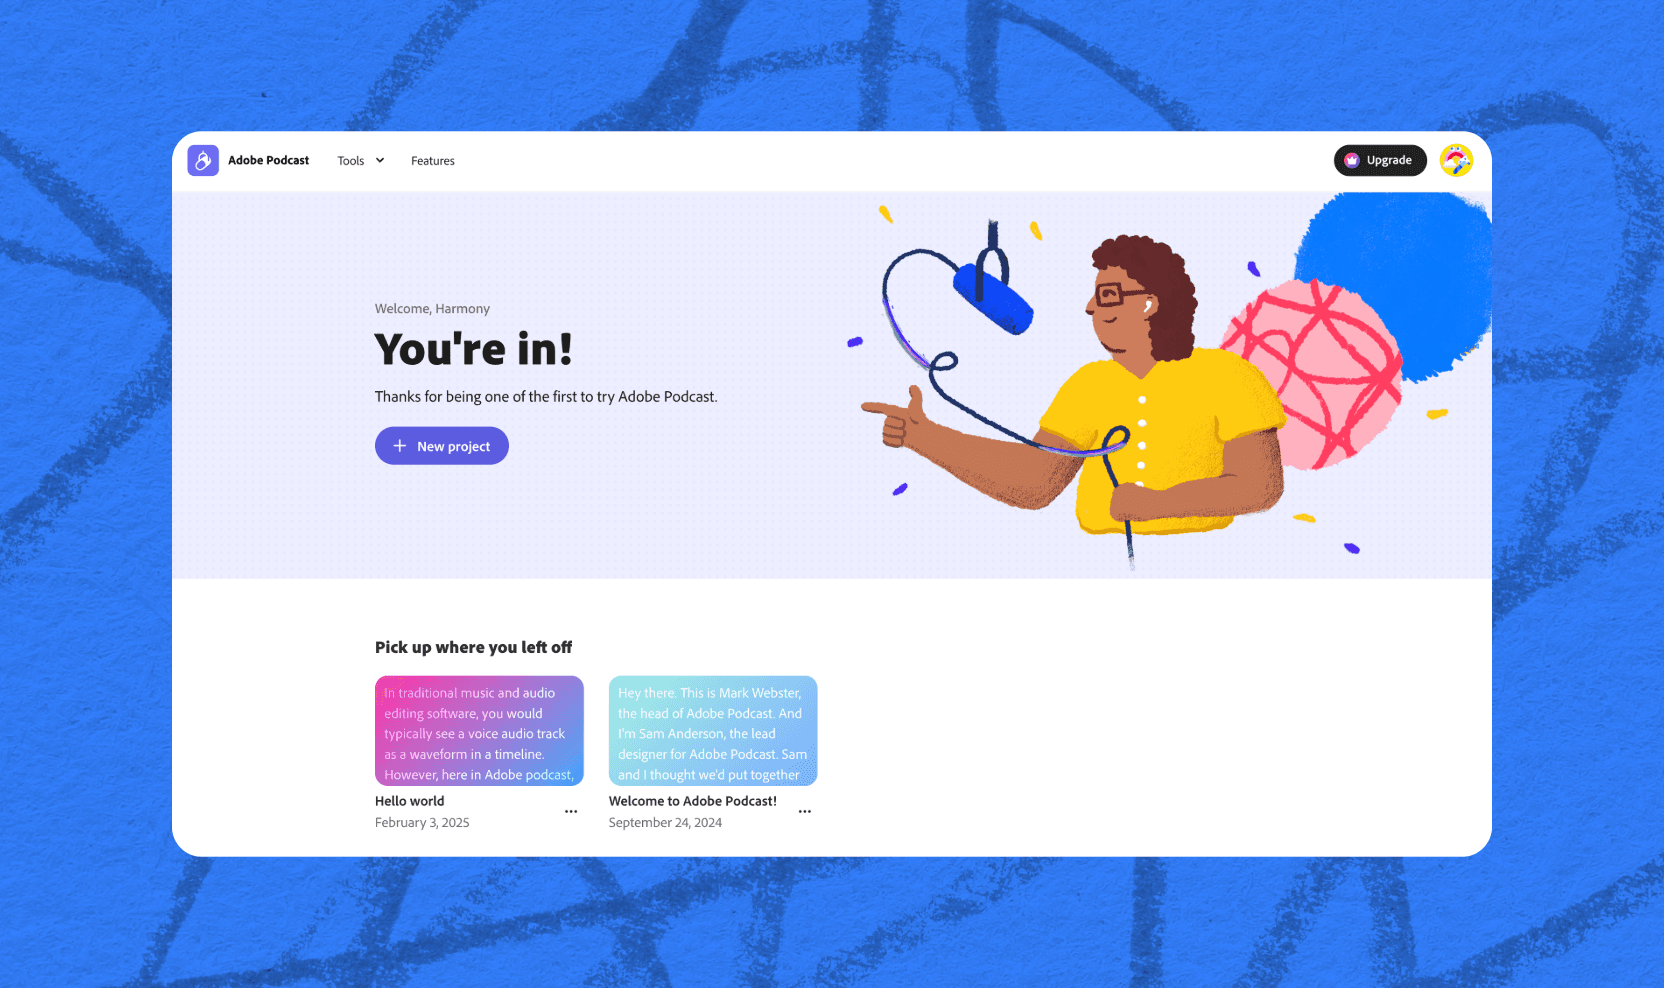
2. Upload your files or record directly in Adobe Podcast.
When beginning your first project, you’ll need to Adobe Podcast access to your microphone. Then, you can record by yourself or share the session directly from the console by clicking Invite Guests to record. All you have to do is share the link to allow another user to join remotely.
If you already have an audio file to edit, just upload it and let the transcript process.
3. Edit away!
Once you have your transcript, you can start on editing. Cut, copy, and paste text, edit any words that were incorrectly transcribed, or add in other audio elements like music from our built-in stock media library.
Remember it’s free to try, so if you’re thinking about podcasting or trying something new to spruce up your workflow, create an account and get started today.
Text-based editing can elevate your voice
While you can definitely use traditional audio editing tools for podcasting, we wanted to make it a whole lot easier. That’s why we’ve built Adobe Podcast — a simple, powerful web app that uses AI to make text-based editing a breeze. It’s designed to help you improve your content quickly and easily, with a bunch of extra features to give you everything you need in one affordable, convenient package.

